Function rooms that turn over in ten minutes: portable panels for venues and events
A venue's screen has to arrive for the 9am workshop, disappear for the lunch setup and work for a presenter who has...
10 September 2026 · 2 min read10 September 2026 · 2 min read · Leaderhub Team
Most classroom fit-outs go wrong in the same place: someone chooses the panel first and measures the room second. Do it the other way round and the rest of the decisions make themselves. Here is the sequence we walk through with schools.
The number that matters is how far the furthest student sits from the front wall. A standard New Zealand classroom runs six to nine metres deep, and that range spans two panel sizes.
If you are between sizes, go bigger. Nobody has ever complained that the back row could read the screen too easily.
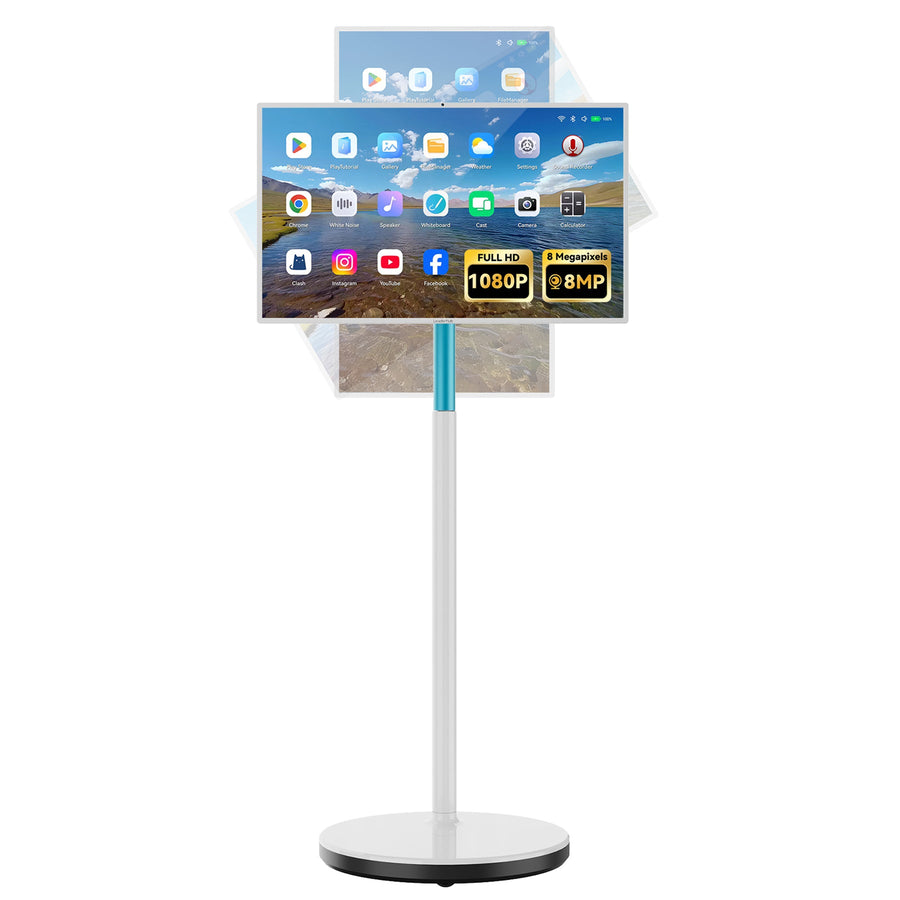
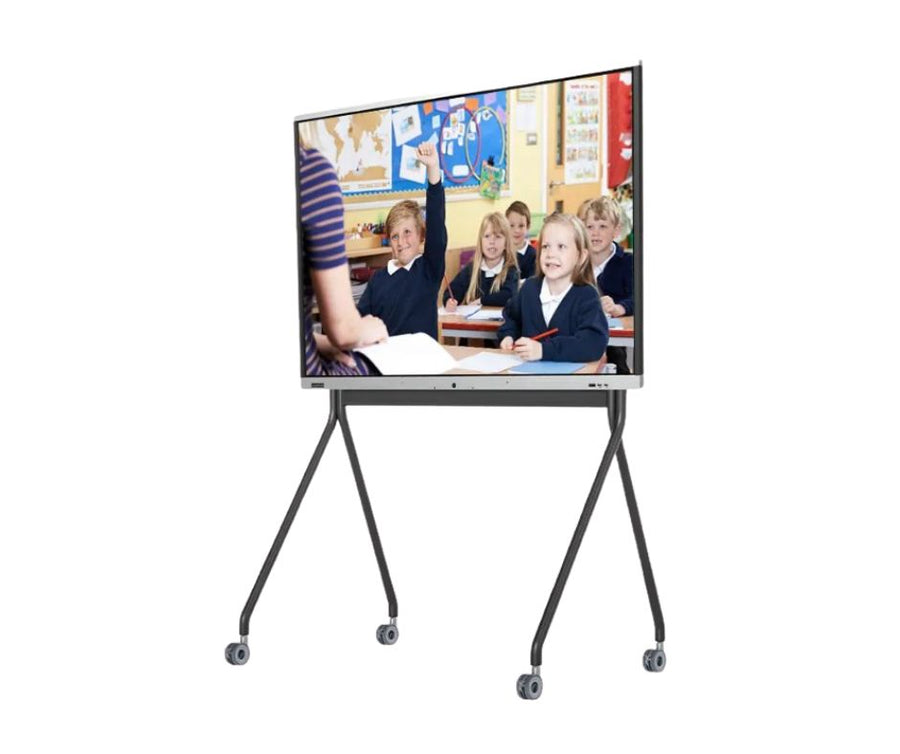
A wall mount is included with every panel and is the tidiest option when the panel lives in one room. Choose a floor stand when the panel needs to travel: a shared space, a hall, or a school trialling one panel across several rooms before committing to a block fit-out. The stands run on wheels, carry an accessories tray and fit through a standard doorway.
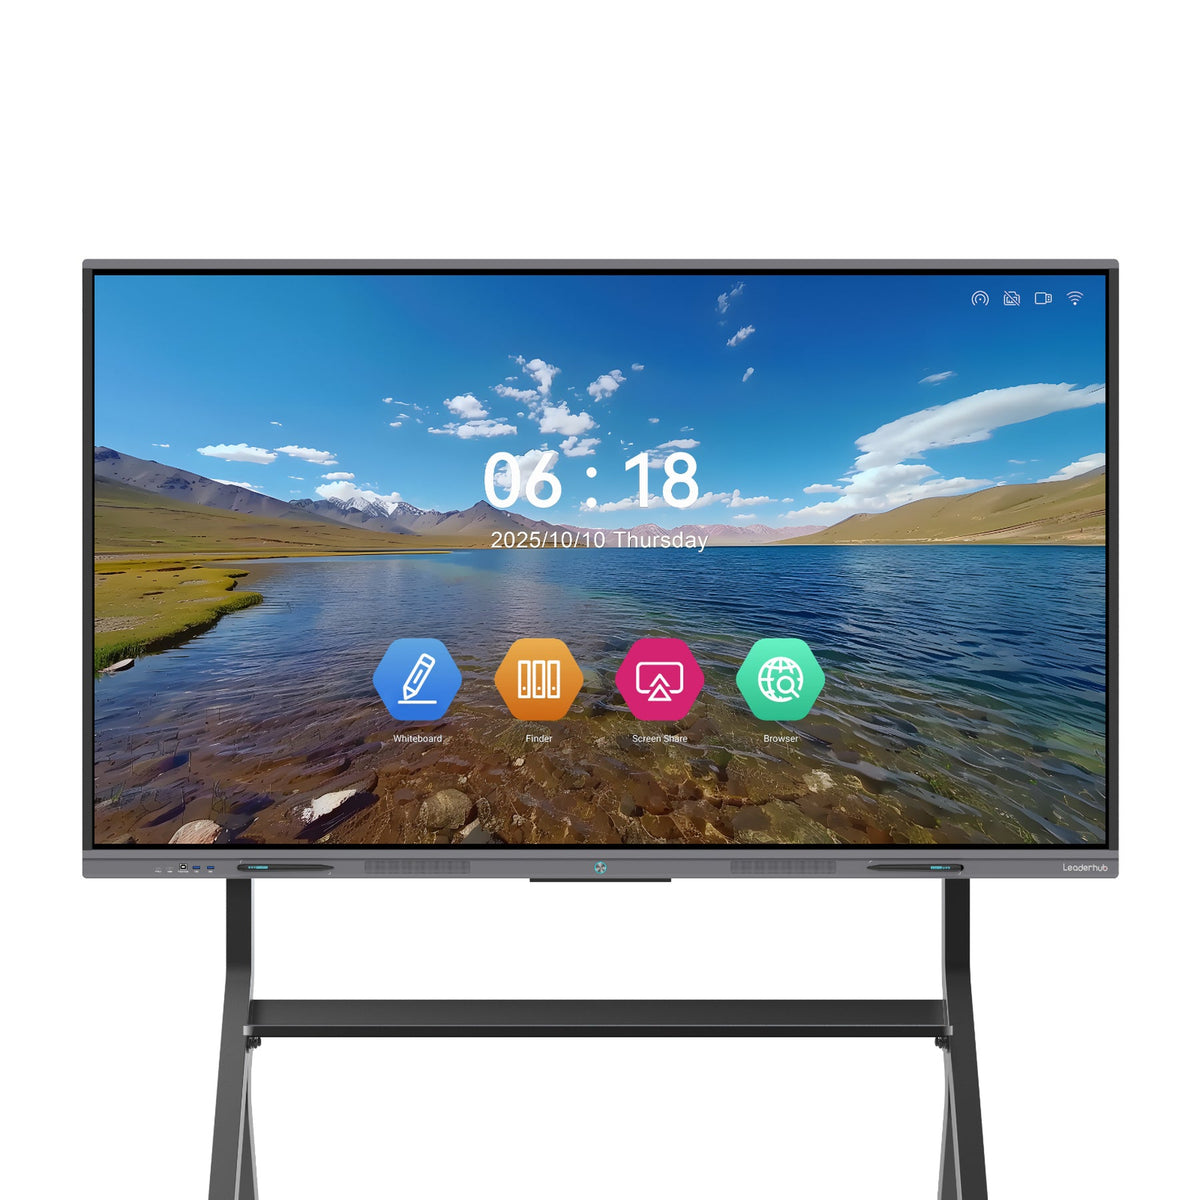
The ZM panels run on their own. Whiteboarding, a browser and wireless casting are built in, so a teacher can walk in and start without a laptop. That covers most primary and intermediate classrooms.
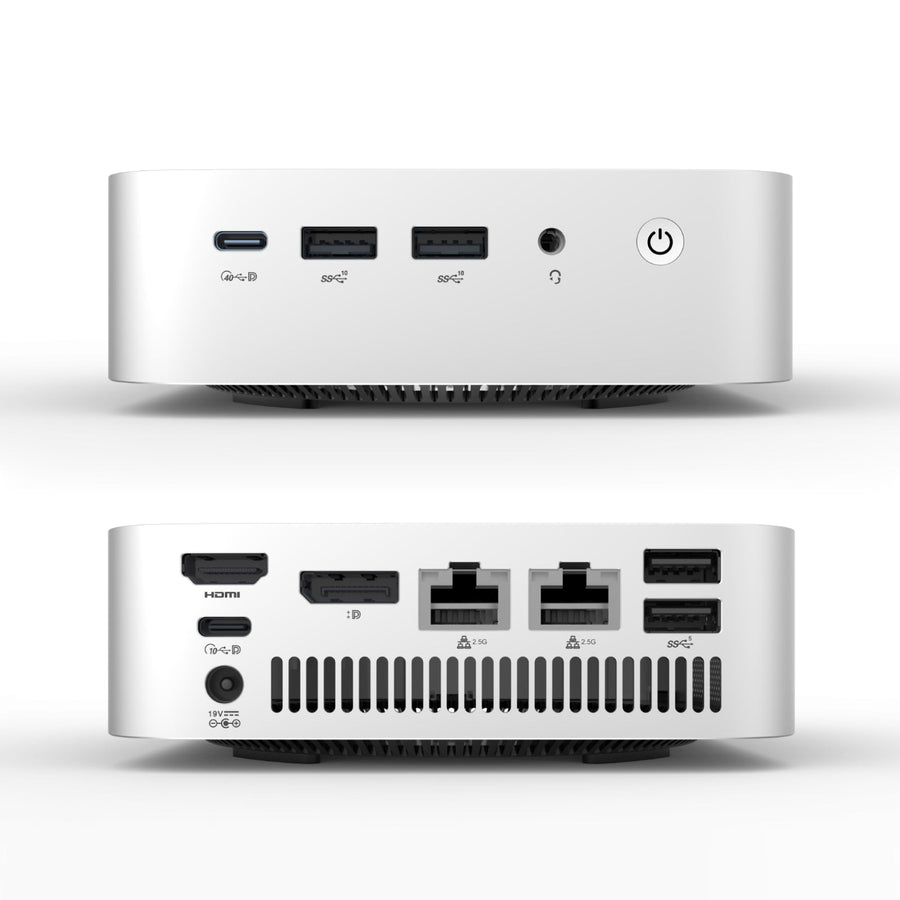
Add a computer when the school has a standard Windows image it wants on every screen, or when the room runs software that only lives on Windows. Two ways to do it:
Casting from an iPad, Chromebook, Windows laptop or Mac works out of the box without a dongle. For guests or relief teachers who will not have the app set up, the screen-share dongle plugs into their laptop and a single button press puts them on the panel.
Every panel ships with two styluses. Infrared touch also works with a finger, so a lost pen never stops a lesson, but the pens do wander. A couple of spares in the order saves a separate courier later.
Schools can buy on a PO with 20th-of-month terms; no card is needed. Build the room on the product page, print the quote, and email the PO to us quoting the reference on it. Panel, stand and PC ordered together save 15%, and freight is a flat rate per item, capped, so a block of classrooms is not penalised for ordering at once.
Not sure which size? Send us the room depth and the roll and we will tell you the panel.
A venue's screen has to arrive for the 9am workshop, disappear for the lunch setup and work for a presenter who has...
10 September 2026 · 2 min readCouncils buy differently: published pricing, written quotes, purchase orders and a paper trail. Here is how a panel purchase fits that process,...
10 September 2026 · 2 min readA typical meeting room is a screen, a camera bar, a speakerphone, a PC and a tangle of cable. The HM panel...
10 September 2026 · 2 min read